【Flask入門:PythonでWebアプリケーションを作ろう】
みなさん、こんにちは!
State代表の高見澤です。
Flask(フラスク)はPythonのマイクロWebフレームワークで、シンプルかつ柔軟な設計が特徴です。
弊社でも積極採用しているフレームワークの一つになります!
本記事では、Flaskを使って簡単なWebアプリケーションを作成する手順を解説していこうと思います!
- 前提条件
このチュートリアルを進める前に、以下のソフトウェアがインストールされていることを確認してください。
- Docker
- docker-compose
- ディレクトリ構成
まずは、プロジェクトのディレクトリ構成を確認しましょう。
ディレクトリ構成:
my_flask_app/
 |- app.py
 |- templates/
 |  - index.html
 |  - create_todo.html
 |- static/
 |  - style.css
 |- Dockerfile
 |- requirements.txt
 |- docker-compose.yml
 |- migrations/
– `my_flask_app`: プロジェクトのルートディレクトリ
– `app.py`: Flaskアプリケーションのメインファイル
– `templates`: HTMLテンプレートファイルを配置するディレクトリ
– `static`: CSSやJavaScriptなどの静的ファイルを配置するディレクトリ
- Flaskアプリケーションの作成
- `my_flask_app`ディレクトリを作成します。
- `my_flask_app`ディレクトリに`app.py`、`index.html`、`create_todo.html`、`create_todo.html
、`style.css`ファイルを作成します。
# app.py
from flask import Flask, render_template, request, redirect, url_for
from flask_sqlalchemy import SQLAlchemy

app = Flask(__name__)
app.config['SQLALCHEMY_DATABASE_URI'] = 'postgresql://postgres:mysecretpassword@db:5432/mytodos' # PostgreSQL接続用のURI
db = SQLAlchemy(app)

# ルーティングをBlueprintとして定義します
from flask import Blueprint

# Blueprintオブジェクトを作成します
todos_bp = Blueprint('todos', __name__)

# ToDoモデルを定義します
class Todo(db.Model):
  id = db.Column(db.Integer, primary_key=True)
  title = db.Column(db.String(100), nullable=False)
  completed = db.Column(db.Boolean, default=False)
# 一覧ページ
@todos_bp.route('/')
def index():
  todos = Todo.query.all()
  return render_template('index.html', todos=todos)

# ToDo作成ページ
@todos_bp.route('/create', methods=['GET', 'POST'])
def create():
  if request.method == 'POST':
    title = request.form['title']
    todo = Todo(title=title)
    db.session.add(todo)
    db.session.commit()
    return redirect(url_for('todos.index')) # Blueprint名を指定してリダイレクト
  return render_template('create_todo.html')

# Blueprintをアプリケーションに登録します
app.register_blueprint(todos_bp, url_prefix='/todos')

if __name__ == '__main__':
  db.create_all()
  app.run(host='0.0.0.0', debug=True)
index.html:
<!DOCTYPE html>
<html>
  <head>
    <title>My ToDo App</title>
    <link rel="stylesheet" type="text/css" href="{{ url_for('static', filename='style.css') }}">
  </head>
  <body>
    <h1>ToDo List</h1>
    <ul>
      {% for todo in todos %}
      <li>{{ todo.title }}</li>
      {% endfor %}
    </ul>
    <a href="{{ url_for('todos.create') }}">Create New ToDo</a>
  </body>
</html>
create_todo.html:
<!DOCTYPE html>
<html>
  <head>
    <title>Create New ToDo</title>
    <link rel="stylesheet" type="text/css" href="{{ url_for('static', filename='style.css') }}">
  </head>
  <body>
    <h1>Create New ToDo</h1>
    <form method="post">
      <label for="title">Title:</label>
      <input type="text" id="title" name="title" required>
      <input type="submit" value="Create">
    </form>
    <a href="{{ url_for('todos.index') }}">Back to ToDo List</a>
  </body>
</html>
style.css
body {
  background-color: #f5f5f5;
  font-family: Arial, sans-serif;
  text-align: center;
  padding: 50px;
}

h1 {
  color: #007bff;
}
Dockerfile:
# ベースイメージとしてPython公式イメージを使用します
FROM python:3.9-slim

# 必要なパッケージをインストールします
RUN apt-get update && apt-get install -y gcc

# Pythonの依存パッケージをコピーしてインストールします
COPY requirements.txt /app/ RUN pip install --no-cache-dir -r requirements.txt

# カレントディレクトリのコードをコンテナ内の/appにコピーします
COPY . /app/

# Flaskアプリを起動するコマンドを指定します
CMD [ "python", "app.py" ]
requirements.txt:
Flask
SQLAlchemy
Flask-Migrate
docker-compose.yml:
version: '3.9'

services:
  web:
    build:
    context: .
    dockerfile: Dockerfile
    container_name: my_flask_app
    ports:
      - "8080:5000"
    depends_on:
      - db
    volumes:
      - ./app:/app

  db:
    image: postgres:latest
    container_name: my_postgres_db
    ports:
      - "5432:5432"
    environment:
      - POSTGRES_USER=postgres
      - POSTGRES_PASSWORD=mysecretpassword
      - POSTGRES_DB=mytodos
    volumes:
      - db_data:/var/lib/postgresql/data
volumes:
  db_data:
このdocker-compose.ymlでは、Flaskアプリケーションとデータベースを別々のコンテナとして定義しています。
データベースにはPostgreSQLの公式イメージを使用していますが、必要に応じて他のデータベースも使用できます。
では、実際に起動してみましょう。
今回はAWSのクラウド内上で構築しています。

Dockerのバージョン確認
[root@ip-172-31-30-52 my_flask_app]# docker -v
Docker version 20.10.23, build 7155243
[root@ip-172-31-30-52 my_flask_app]#
[root@ip-172-31-30-52 my_flask_app]# docker-compose -v
docker-compose version 1.6.2, build 4d72027
[root@ip-172-31-30-52 my_flask_app]#
[root@ip-172-31-30-52 my_flask_app]#
Dockerコンテナをビルドします。
$ docker-compose build次に、Dockerコンテナを起動します。
$ docker-compose up

Creating volume "myflaskapp_db_data" with default driver
Starting my_postgres_db
Starting my_flask_app
Attaching to my_postgres_db, my_flask_app
my_postgres_db |
my_postgres_db | PostgreSQL Database directory appears to contain a database; Skipping initialization
my_postgres_db |
my_postgres_db | 2023-07-31 06:03:01.781 UTC [1] LOG: starting PostgreSQL 15.3 (Debian 15.3-1.pgdg120+1) on x86_64-pc-linux-gnu, compiled by gcc (Debian 12.2.0-14) 12.2.0, 64-bit
my_postgres_db | 2023-07-31 06:03:01.782 UTC [1] LOG: listening on IPv4 address "0.0.0.0", port 5432
my_postgres_db | 2023-07-31 06:03:01.782 UTC [1] LOG: listening on IPv6 address "::", port 5432
my_postgres_db | 2023-07-31 06:03:01.785 UTC [1] LOG: listening on Unix socket "/var/run/postgresql/.s.PGSQL.5432"
my_postgres_db | 2023-07-31 06:03:01.790 UTC [27] LOG: database system was shut down at 2023-07-31 06:02:38 UTC
my_postgres_db | 2023-07-31 06:03:01.798 UTC [1] LOG: database system is ready to accept connections
my_flask_app | * Serving Flask app 'app' (lazy loading)
my_flask_app | * Environment: production
my_flask_app | WARNING: This is a development server. Do not use it in a production deployment.
my_flask_app | Use a production WSGI server instead.
my_flask_app | * Debug mode: on
my_flask_app | WARNING: This is a development server. Do not use it in a production deployment. Use a production WSGI server instead.
my_flask_app | * Running on all addresses (0.0.0.0)
my_flask_app | * Running on http://127.0.0.1:5000
my_flask_app | * Running on http://172.18.0.3:5000
my_flask_app | Press CTRL+C to quit
my_flask_app | * Restarting with stat
my_flask_app | * Debugger is active!
my_flask_app | * Debugger PIN: 190-586-524
こんな感じでコンテナが起動します。
これで、Flaskアプリケーションが1つのコンテナに、データベースが別のコンテナにそれぞれ独立して起動されます。FlaskアプリケーションからデータベースにアクセスしてToDoを管理することができます。
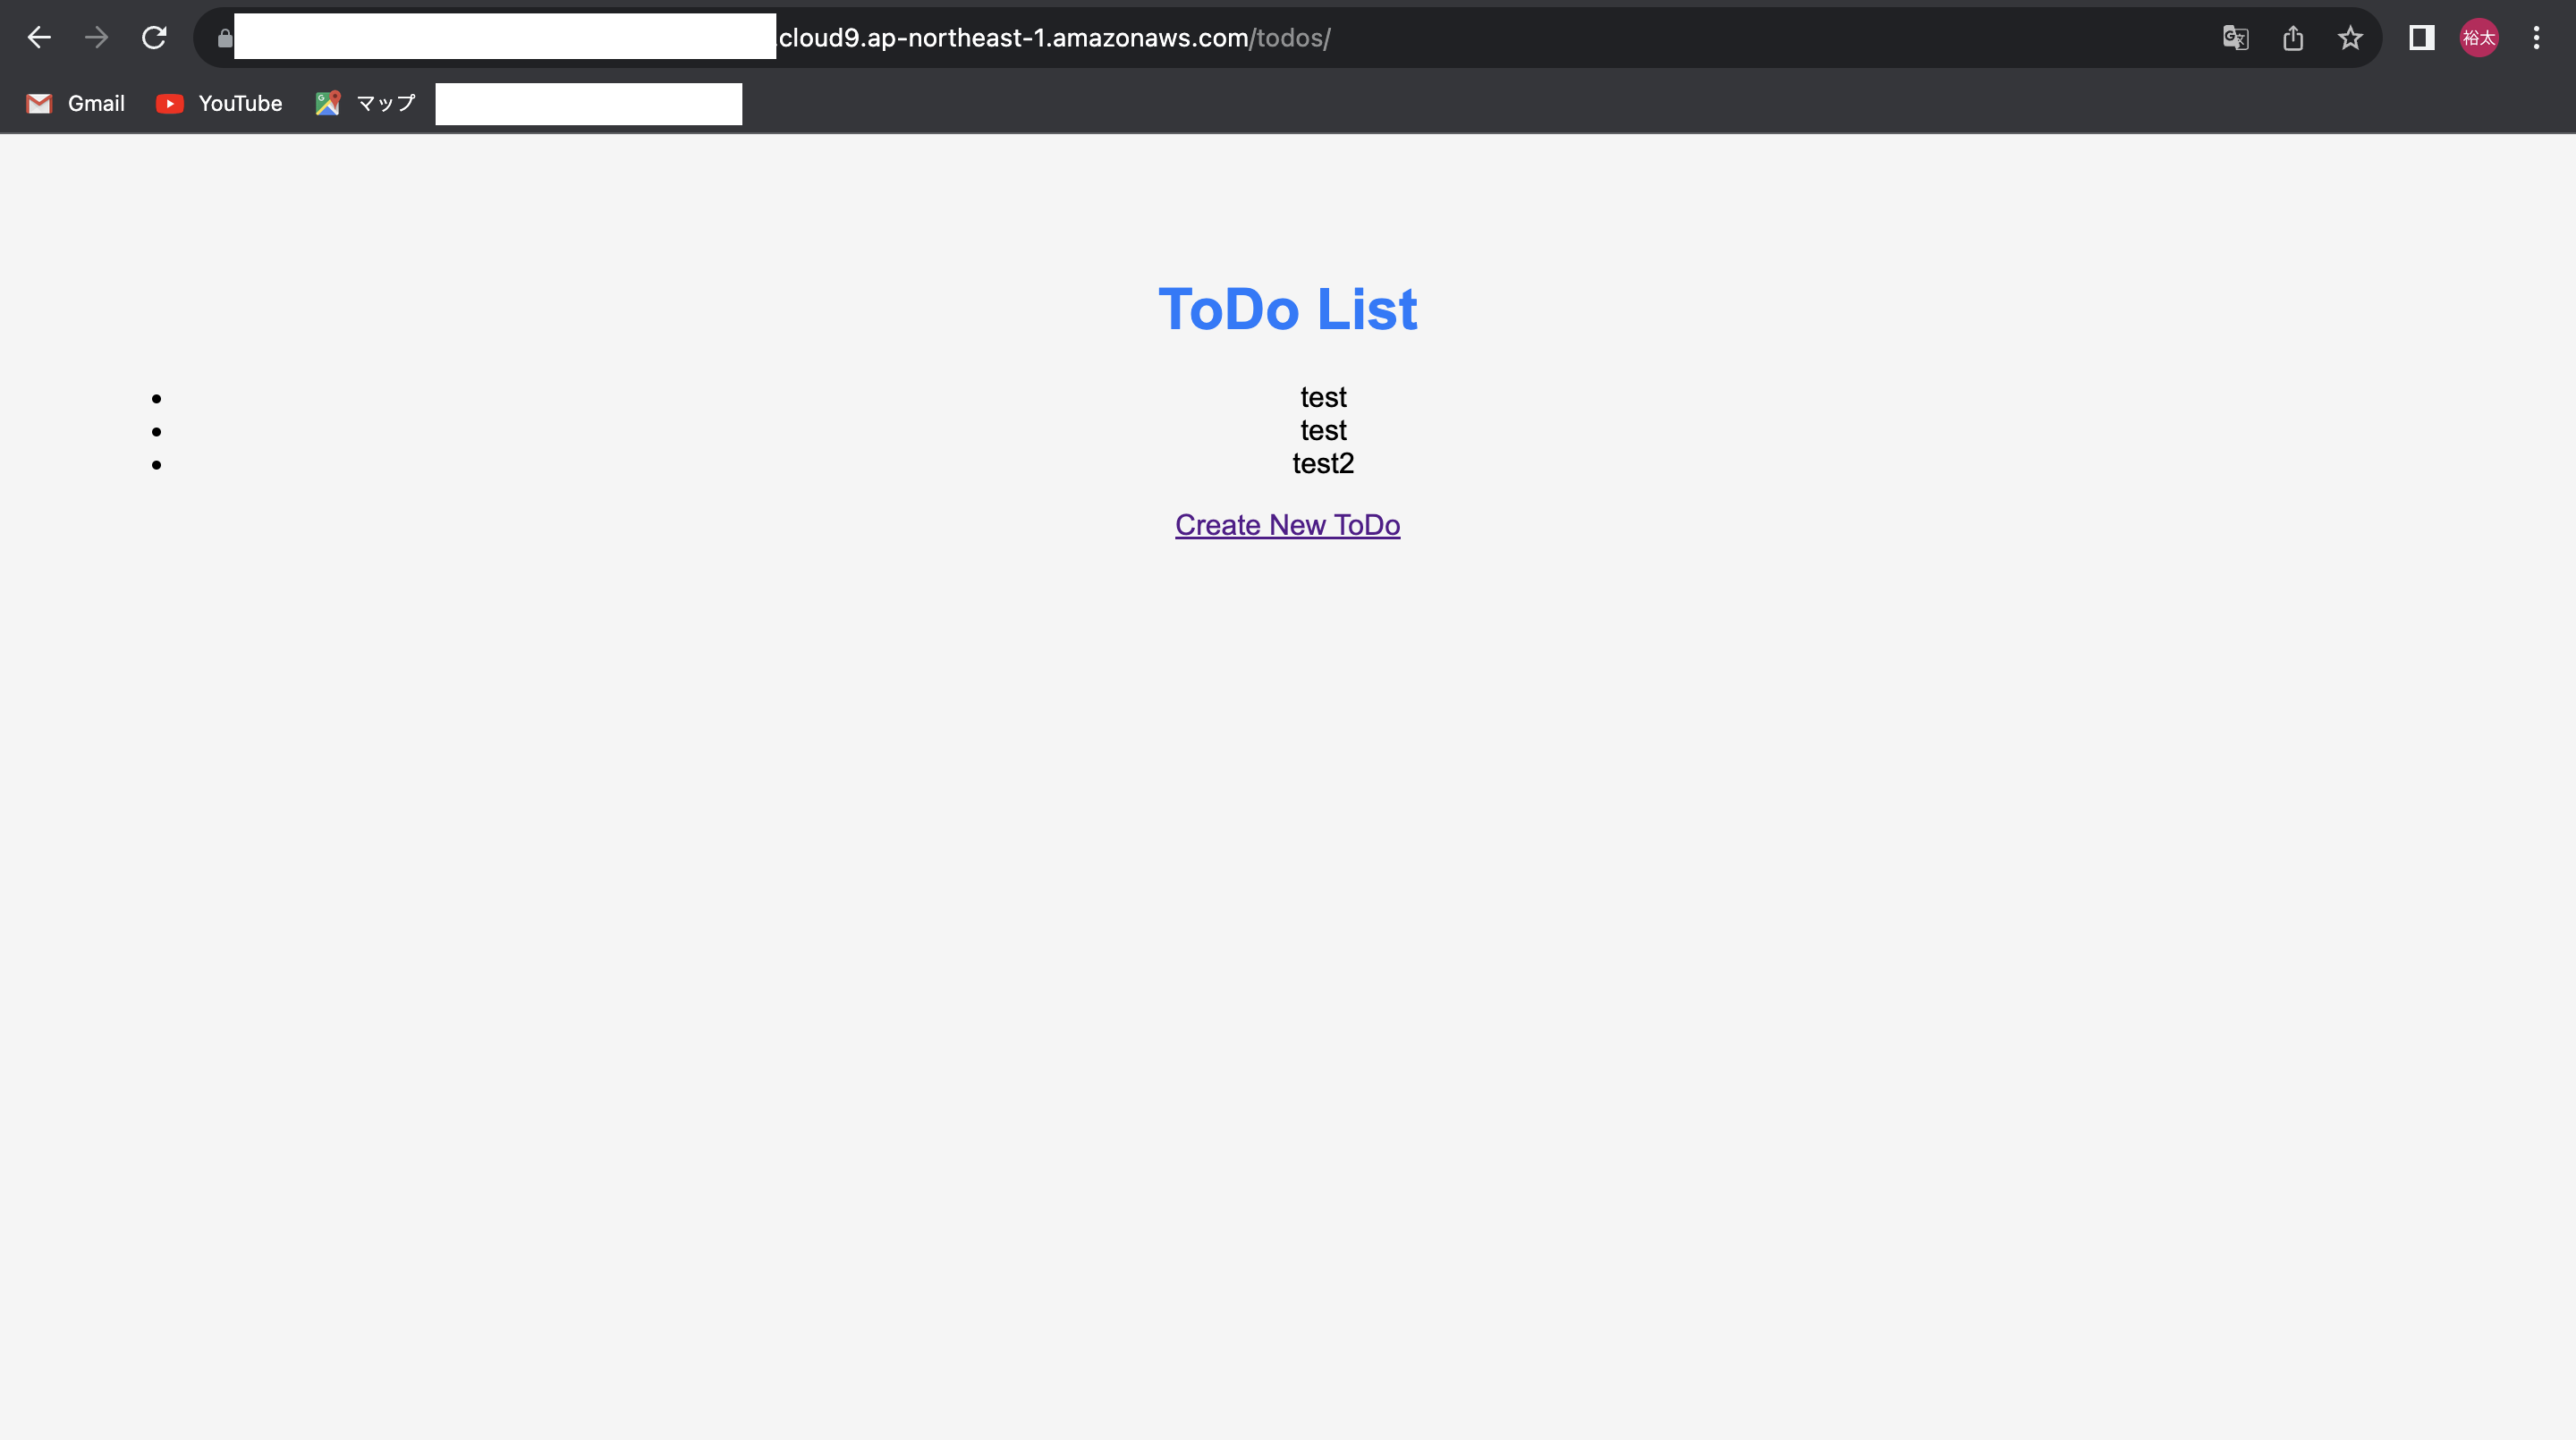
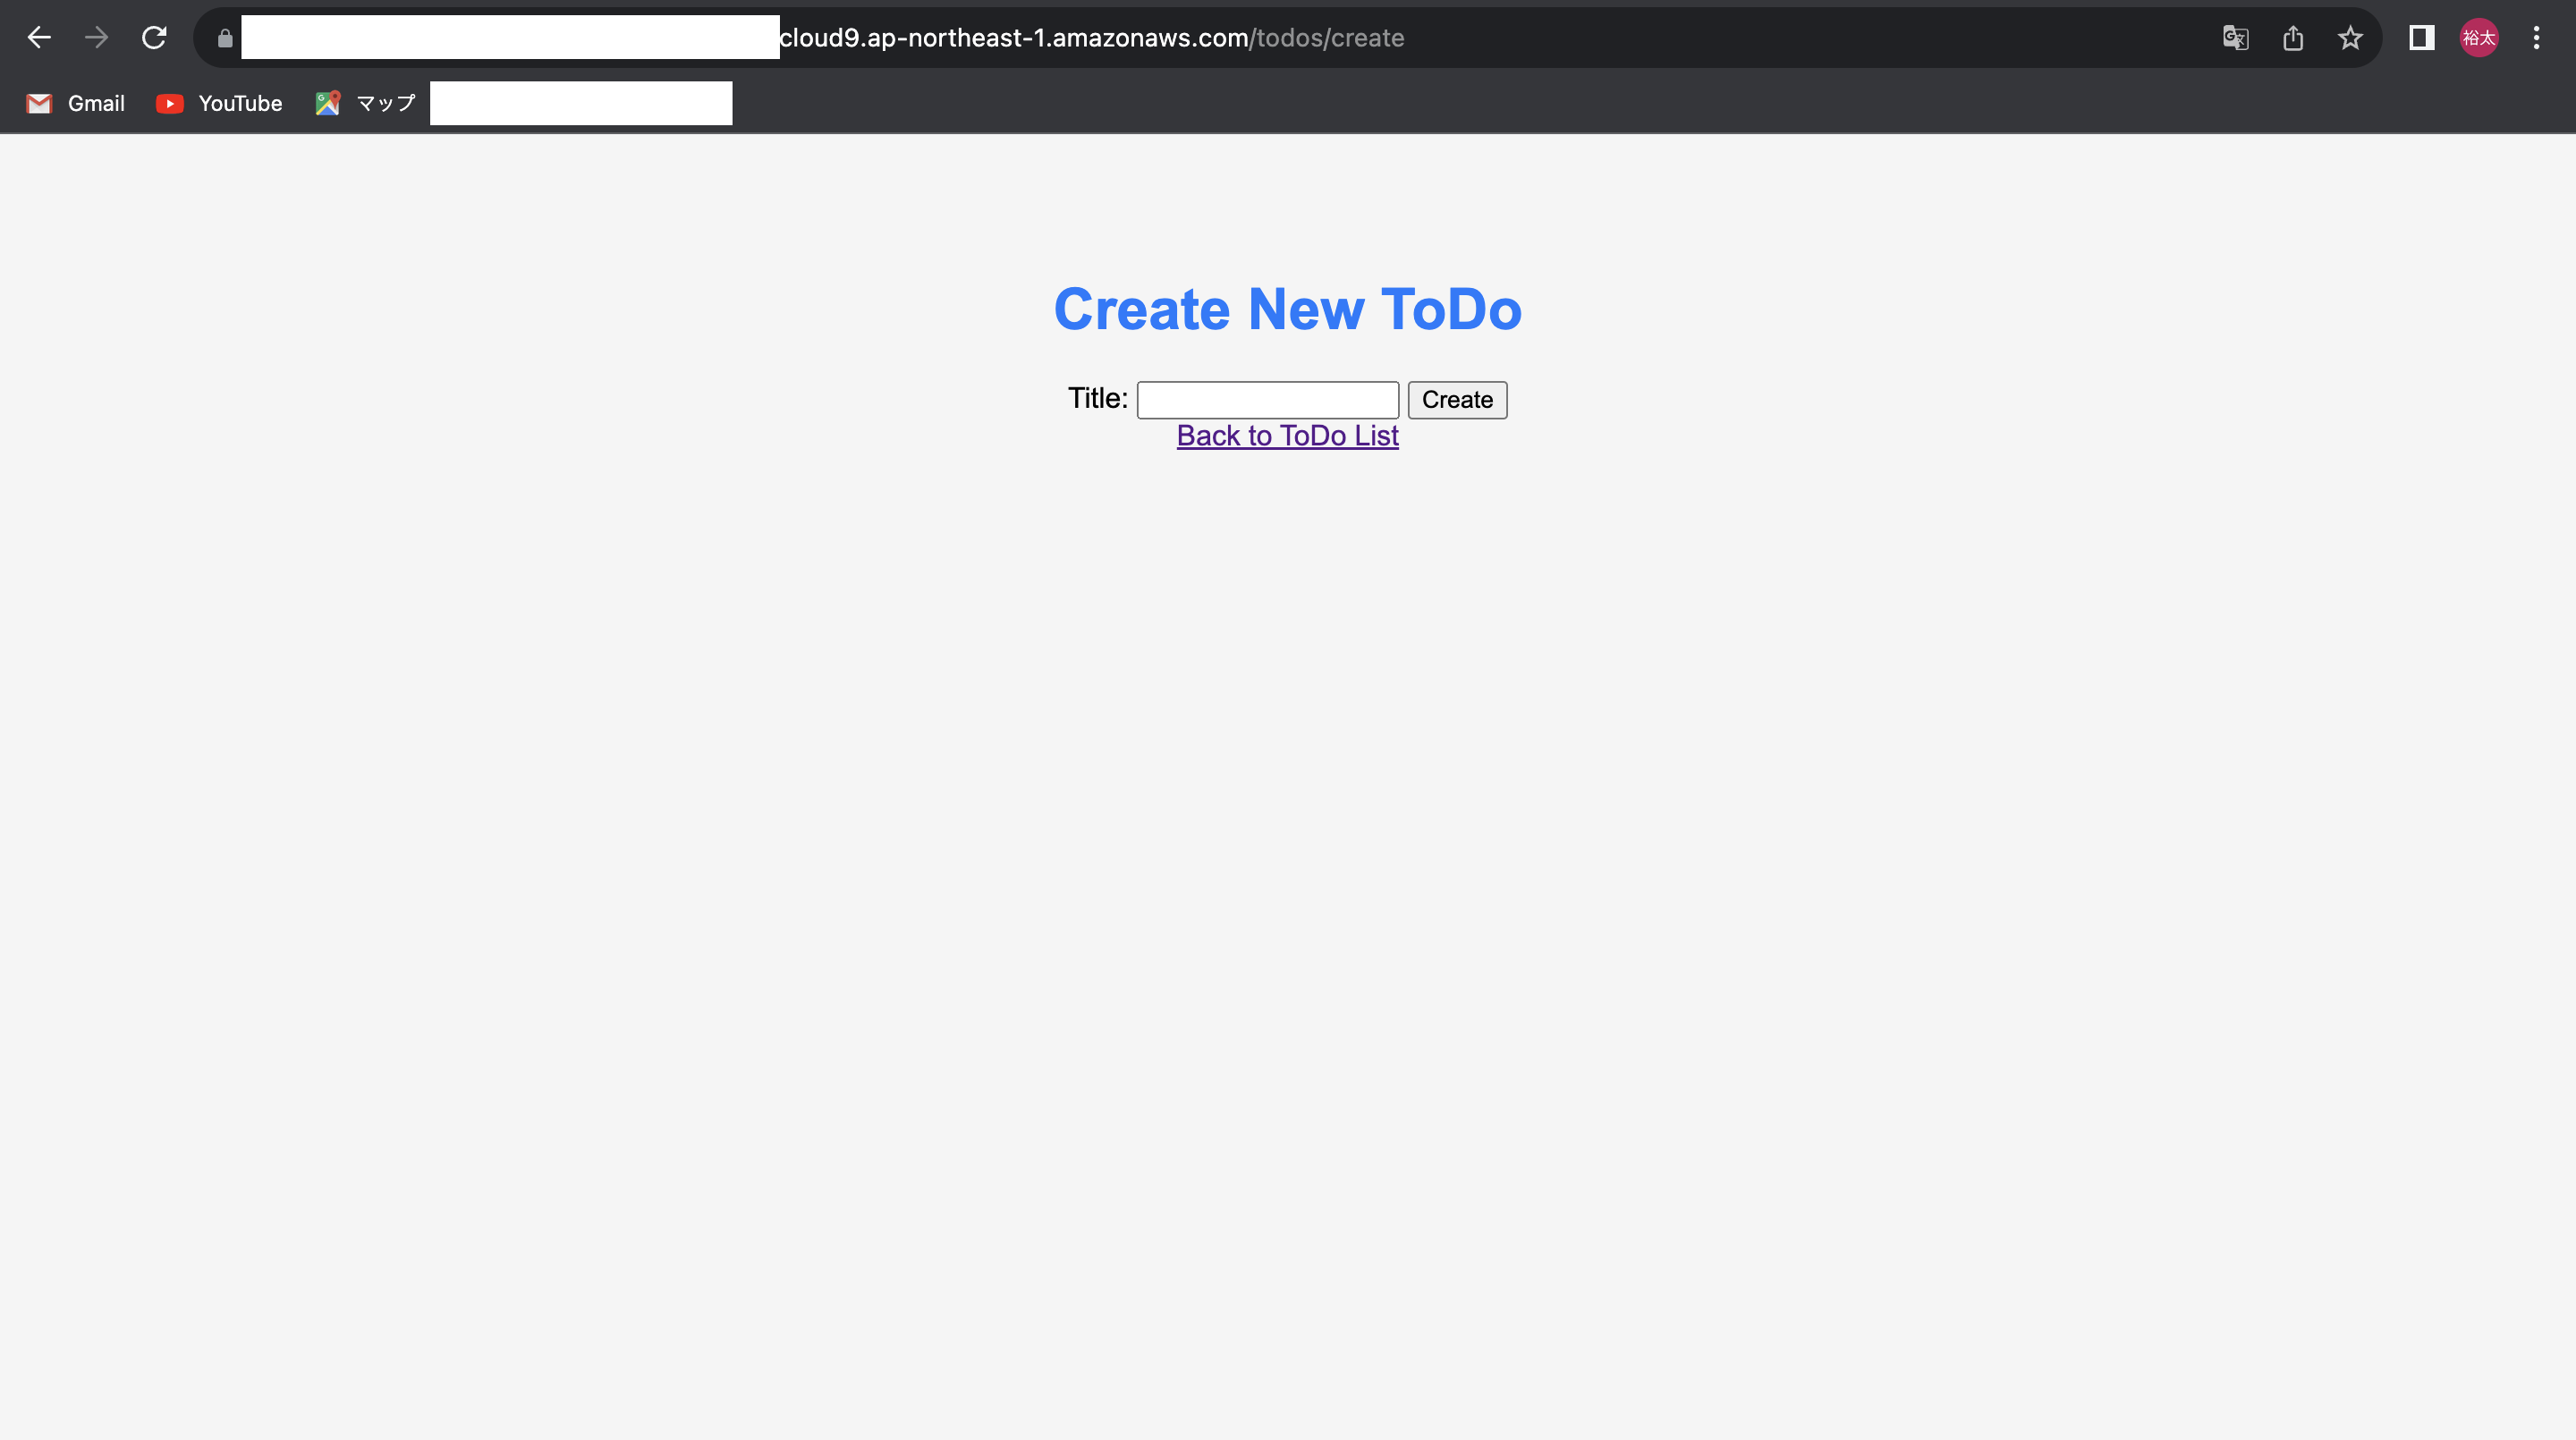
2. ブラウザで`http://127.0.0.1:8080`にアクセスします。
※今回はCloud9のためAWSのURLになっています。
画面も表示されてますね!


データベースの中身も見てみましょう。
system_takamizawa:~/environment $ docker ps
CONTAINER ID IMAGE COMMAND CREATED STATUS PORTS NAMES
3c51b2070fb5 myflaskapp_web "python app.py" 12 minutes ago Up 12 minutes 0.0.0.0:8080->5000/tcp, :::8080->5000/tcp my_flask_app
e69a78ae3c87 postgres:latest "docker-entrypoint.s…" 3 days ago Up 12 minutes 0.0.0.0:5432->5432/tcp, :::5432->5432/tcp my_postgres_db
system_takamizawa:~/environment $
system_takamizawa:~/environment $
system_takamizawa:~/environment $
system_takamizawa:~/environment $ docker exec -it e69a78ae3c87 /bin/bash
root@e69a78ae3c87:/#
root@e69a78ae3c87:/#
root@e69a78ae3c87:/# psql -h localhost -U postgres -p 5432 -d mytodos
psql (15.3 (Debian 15.3-1.pgdg120+1))
Type "help" for help.
mytodos=# \dt
List of relations
Schema | Name | Type | Owner
--------+------+-------+----------
public | todo | table | postgres
(1 row)
mytodos=# \d todo
Table "public.todo"
Column | Type | Collation | Nullable | Default
-----------+------------------------+-----------+----------+----------------------------------
id | integer | | not null | nextval('todo_id_seq'::regclass)
title | character varying(100) | | not null |
completed | boolean | | |
Indexes:
"todo_pkey" PRIMARY KEY, btree (id)
mytodos=#
mytodos=# select * from todo;
id | title | completed
----+-------+-----------
1 | test | f
2 | test | f
3 | test2 | f
(3 rows)

mytodos=#
データもしっかり登録されてますね!
これで、Flaskを使ったシンプルなWebアプリケーションが完成しました!
Flaskの特徴的なルーティングやテンプレートエンジンを活用して、
さらに高度なWebアプリケーションを開発することができます。ぜひ自分のアイデアを試してみてください!
Stateではこのようなアプリケーションやアーキテクチャに興味を持っているエンジニアを大募集しております!
一緒に働きたいと思う方はぜひHPからご応募いただけますと嬉しいです!


